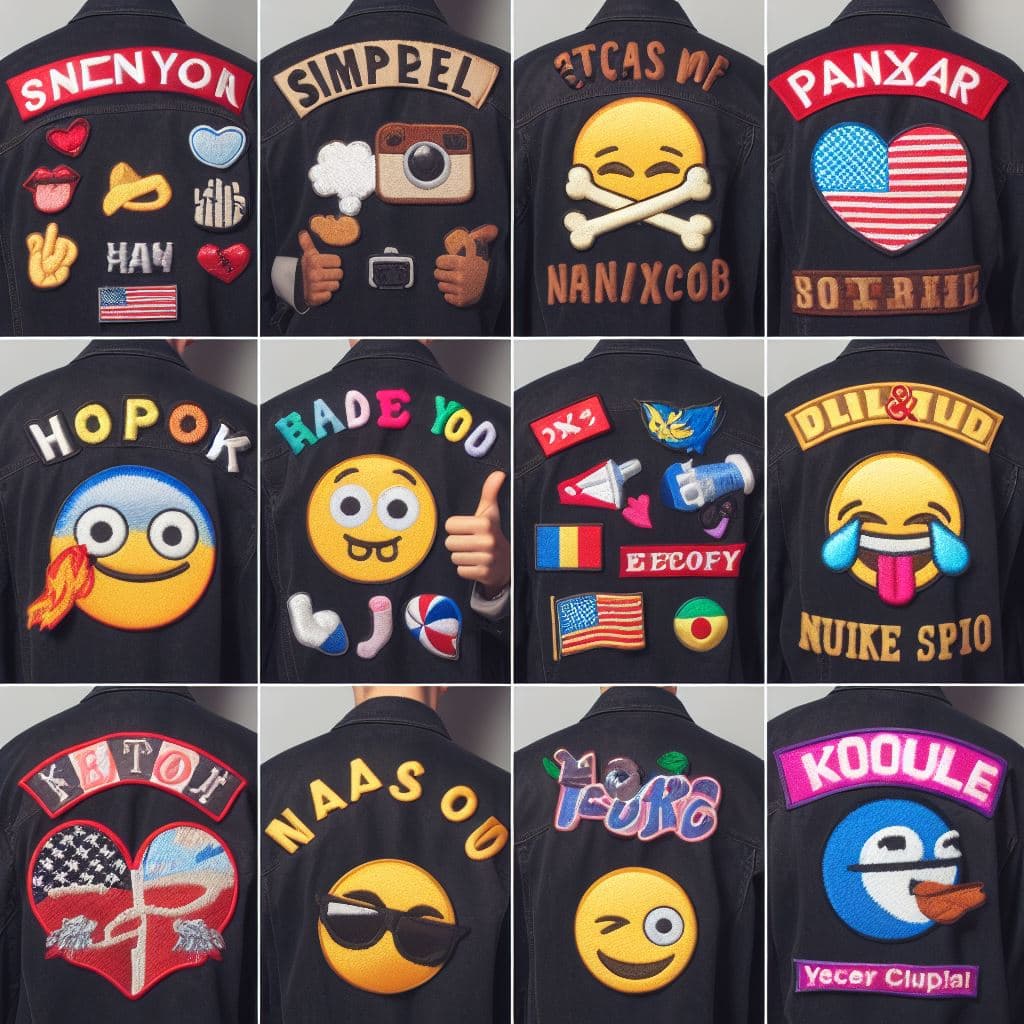
In a world where individuality is celebrated and personal expression is paramount, custom patches stand as timeless symbols of creativity and identity. These versatile emblems offer a canvas for self-expression like no other. However, displaying custom patches is both an art and a science.
If you want to learn how to display custom patches like a pro, this comprehensive guide is for you. It highlights the entire journey, from designing a novel patch to choosing the perfect placement to exploring creative mounting techniques. We’ll discuss each step in detail so that you have the knowledge and inspiration to make a statement piece that's uniquely yours, whether you're adorning a jacket, accessorizing a backpack, or outfitting a professional uniform. So, let's dive right in.
The Steps to Displaying Custom Patches
Displaying custom clothing patches typically involves three basic steps: design, manufacturing, and application processes. Here's a step-by-step guide on how to display custom clothing patches like a pro.
The Design Phase

The design phase is where the actual magic begins. Investing time and effort into the design phase helps lay the foundation for an exceptional custom patch that’s not only aesthetically appealing but also effectively communicates your brand message and reflects brand identity. Therefore, before you unleash your creativity, it’s vital to explore various design options that can help transform your ideas into tangible emblems
Step #1: Design the Patch
Begin by searching for graphic design software that enables you to craft the right patch design. Tools such as Adobe Photoshop or Illustrator have impressive design potential. However, it’s best to consider the purpose of your patch and its intended audience before you start. This will influence your choice on factors like size, shape, and color scheme.
Now, it’s time to get creative and bring your ideas to life. Sketch your logo, illustration, or personalized emblem. Aim for clean lines and minimalist aesthetics, adding intricate details as you progress. Explore hues and shapes on the digital canvas until you find the perfect look.
Step #2: Choose a Material
Once your design is finalized, it's time to select the material that can bring your patch into a reality. There are various materials to choose from, each offering its own unique characteristics and aesthetic appeal. The material you choose should be based on the intended use of the patch, durability, flexibility, and aesthetic appeal to ensure it suits your purpose. After all, your choice will greatly impact the final look of your patch.
Step #3: Mockup
With your design and material selected, it's time to visualize how your patch will look on the final product. Create a mockup of your patch to see how it interacts with the fabric, complements the overall aesthetic, and whether any adjustments need to be made to the design or placement. Experiment with displaying patches in different settings and sizes until you find the perfect combination.
Manufacturing Phase

Once your design is perfected, it's time to turn your patch into a tangible reality. Carefully overseeing the production process ensures your custom patches are of the highest quality and the stage is set for a successful display and application.
Step #1: Find a Manufacturer
Search for a reputable manufacturer that specializes in custom patches. Look for companies with a track record of producing high-quality patches that offer a range of customization options to suit your needs. Consider factors such as the types of patches, cost, production capabilities, customer reviews, etc., before making a decision. Partnering with a trusted manufacturer that aligns with your vision can deliver the level of quality and service you expect.
Step #2: Submit Your Design
Provide the finalized patch design to your approved patch manufacturer. Understand their design requirements and template guidelines before submitting the design to ensure compatibility with their production processes. Be clear about special instructions or preferences regarding size, color matching, and other design elements to ensure the patch meets your expectations.
Step #3: Approve the Sample
Request a sample patch for your review and approval. This ensures that the design translates accurately onto the chosen material and meets your quality standards. More importantly, it offers you an opportunity to adjust or revise your patches before full-scale production. So inspect the sample thoroughly, paying attention to details such as color accuracy, stitching quality, and overall appearance.
Step #4: Patch Production
Once the sample patch is approved, the manufacturer will proceed with full-scale production. This involves replicating your design onto the chosen material in the desired quantity. The production timeline will vary depending on factors such as the complexity of the design and the quantity ordered.
Application Phase

With your custom patches in hand, it's time to apply them to your clothing, accessories, etc. So roll up your sleeves and get ready to showcase your patches.
Step #1: Prepare Clothing Item
Before applying the patch, prepare the application surface. Clean the area to remove dirt or residues and smooth out wrinkles before proceeding. Believe it or not, these are a few of the most important tips for effective patch display, ensuring optimal adhesion and longevity of your patch.
Step #2: Positioning
Finalize where you want to place the patch on your product. Make sure to consider aspects such as aesthetics, visibility, and practicality. Mark the desired placement to ensure the patch is centered and aligned correctly.
Step #3: Attachment Technique
Depending on the type of patch and material, you'll need to choose the appropriate attachment method: Sewing: Sewing is the most reliable attachment method, offering a permanent and durable finish ideal for heavy-duty or frequently worn items, such as jackets, uniforms, or backpacks. Use a needle and thread that matches the shade of the patch, carefully
- stitching around the edges. Be sure to sew through both the patch and the garment fabric for a secure attachment.
- Iron-On: For a quick and easy application, iron-on adhesive is a popular choice. It’s suitable for lightweight or non-washable items, such as t-shirts or hats. Preheat the iron to the appropriate temperature setting for the fabric and place the adhesive side down in the desired location. Cover the patch with a thin cloth to protect both the patch and the garment from direct heat. Apply firm pressure with the iron for 10-15 seconds, then allow the patch to cool completely before handling.
- Velcro: Velcro offers a removable and repositionable attachment option, offering versatility and convenience for items that require frequent customization or temporary embellishment. Simply sew one side of the Velcro onto the back of the patch and the other onto the desired location on the garment. Apply and remove the patch as needed.
Step #4: Finishing Touches
Once the patch is securely attached, it’s time for a final inspection to ensure everything looks good. Trim any loose threads or excess fabric around the edges of the patch for a clean and polished finish.
Over to You
Displaying custom patches allows you to explore your creativity and personalize your merchandise. The step-by-step process outlined in this guide enables you to design and produce unique embroidered patches that truly reflect your style and personality.
However, partnering with experienced custom patch manufacturers like Anything Chenille means you can expect the highest quality patches at the most competitive prices and the best turnaround times. Feel free to contact our design team to discuss the details of your custom patches.


